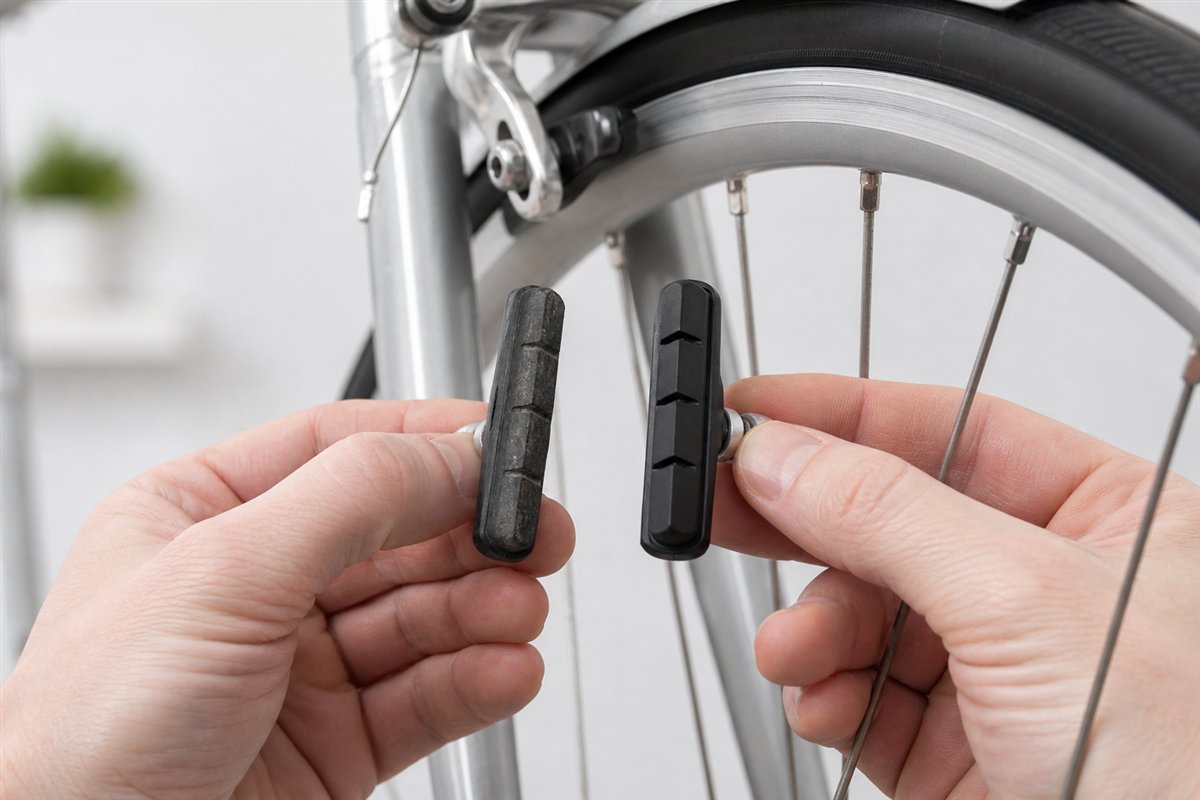
Brake pads need attention when friction material approaches the manufacturer’s minimum, wears unevenly, becomes contaminated or glazed, or braking performance changes. Metal-on-metal scraping, severe weakness, or a lever reaching the handlebar means do not ride.
Visible signs
Inspect pad material using the brake maker’s method. Do not confuse the backing plate with usable friction material. Look for uneven thickness, cracks, missing pieces, glazing, contamination, and a pad that contacts the tire instead of the rim track.
Performance signs
Longer stopping distance, inconsistent bite, a changing lever feel, persistent squeal after wet conditions pass, or a brake that needs repeated adjustment can all justify inspection. Noise alone does not prove wear, and quiet pads are not automatically healthy.
Replace as a system requires
Pad type, bedding process, hardware, and wear limits vary. Keep oils and cleaning products away from friction surfaces. A mechanic should check the rotor or rim when pads show unusual wear.
Continue with the complete brake inspection and brake squeal guide.
Frequently asked questions
How do you know if bike brake pads are worn?
Signs include thin friction material, under about 1.5mm on disc pads or down to the wear line on rim pads, weaker braking, a squealing or grinding noise, glazing, uneven wear, or metal-on-metal contact. Any grinding means stop riding and replace the pads immediately.
When should you replace bike brake pads?
Replace disc brake pads when the friction material is around 1.5mm or less, and rim brake pads when the tread grooves have worn away. Replace sooner if the pads are contaminated with oil or glazed, since braking power drops sharply.
Continue the topic
More brake care guides
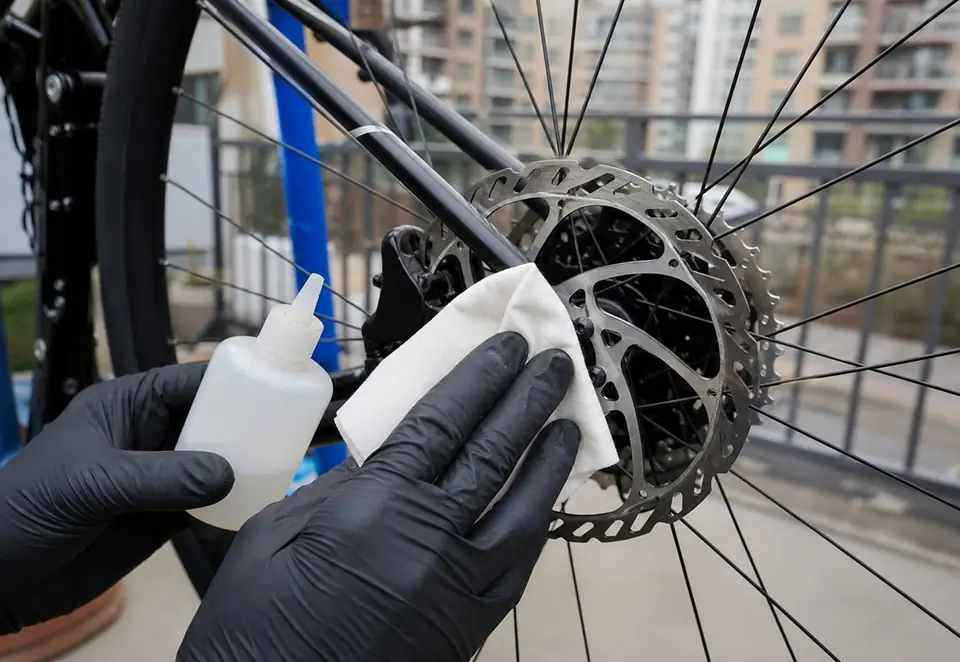 Bike Brakes Squeal: Causes and Safe Fixes
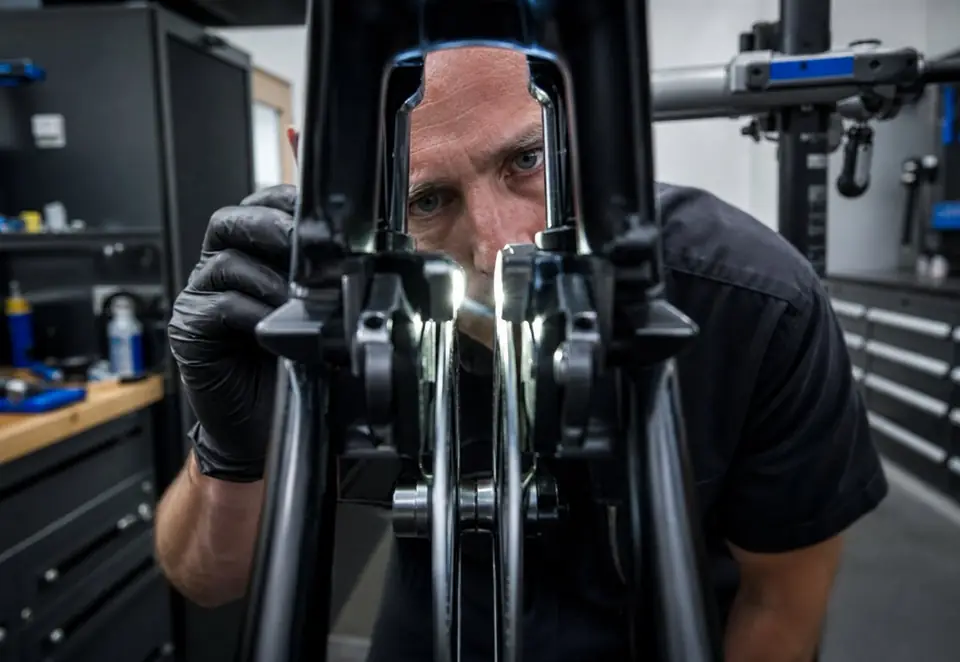 Bike Disc Brake Rubbing: What to Check First
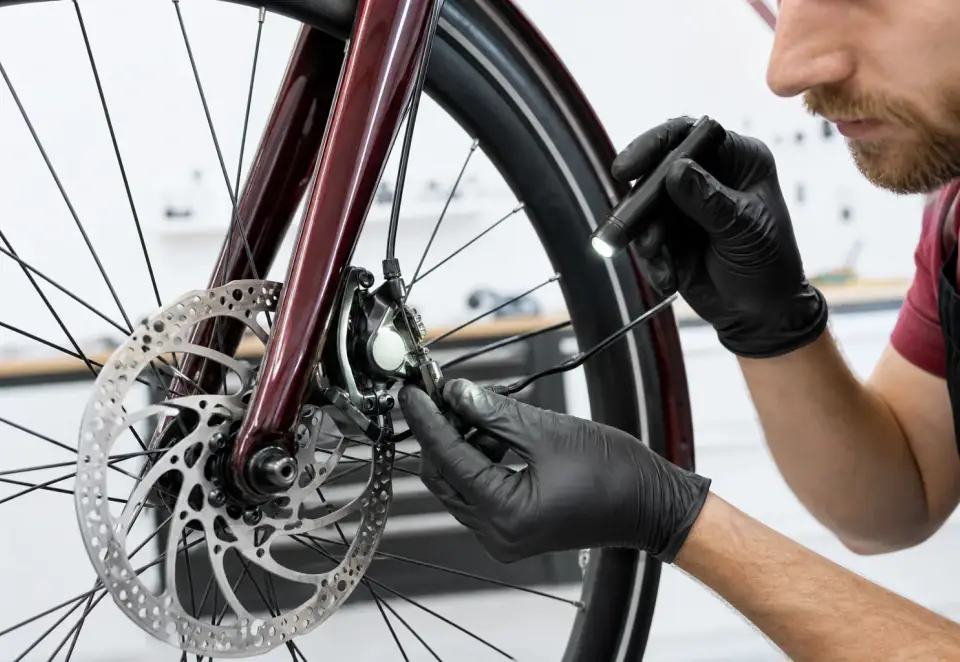 Can I Ride With Worn Bike Brake Pads?
Watch the technique
How to Replace Bicycle Disc Brake Pads
Video by John on a Bike · Watch on YouTube